> For the complete documentation index, see [llms.txt](https://resources.viewrail.com/llms.txt). Markdown versions of documentation pages are available by appending `.md` to page URLs; this page is available as [Markdown](https://resources.viewrail.com/guides/install/how-do-i-install-a-flight-system/how-do-i-install-a-flight-cantilever-system.md).
# How do I Install a FLIGHT Cantilever System?
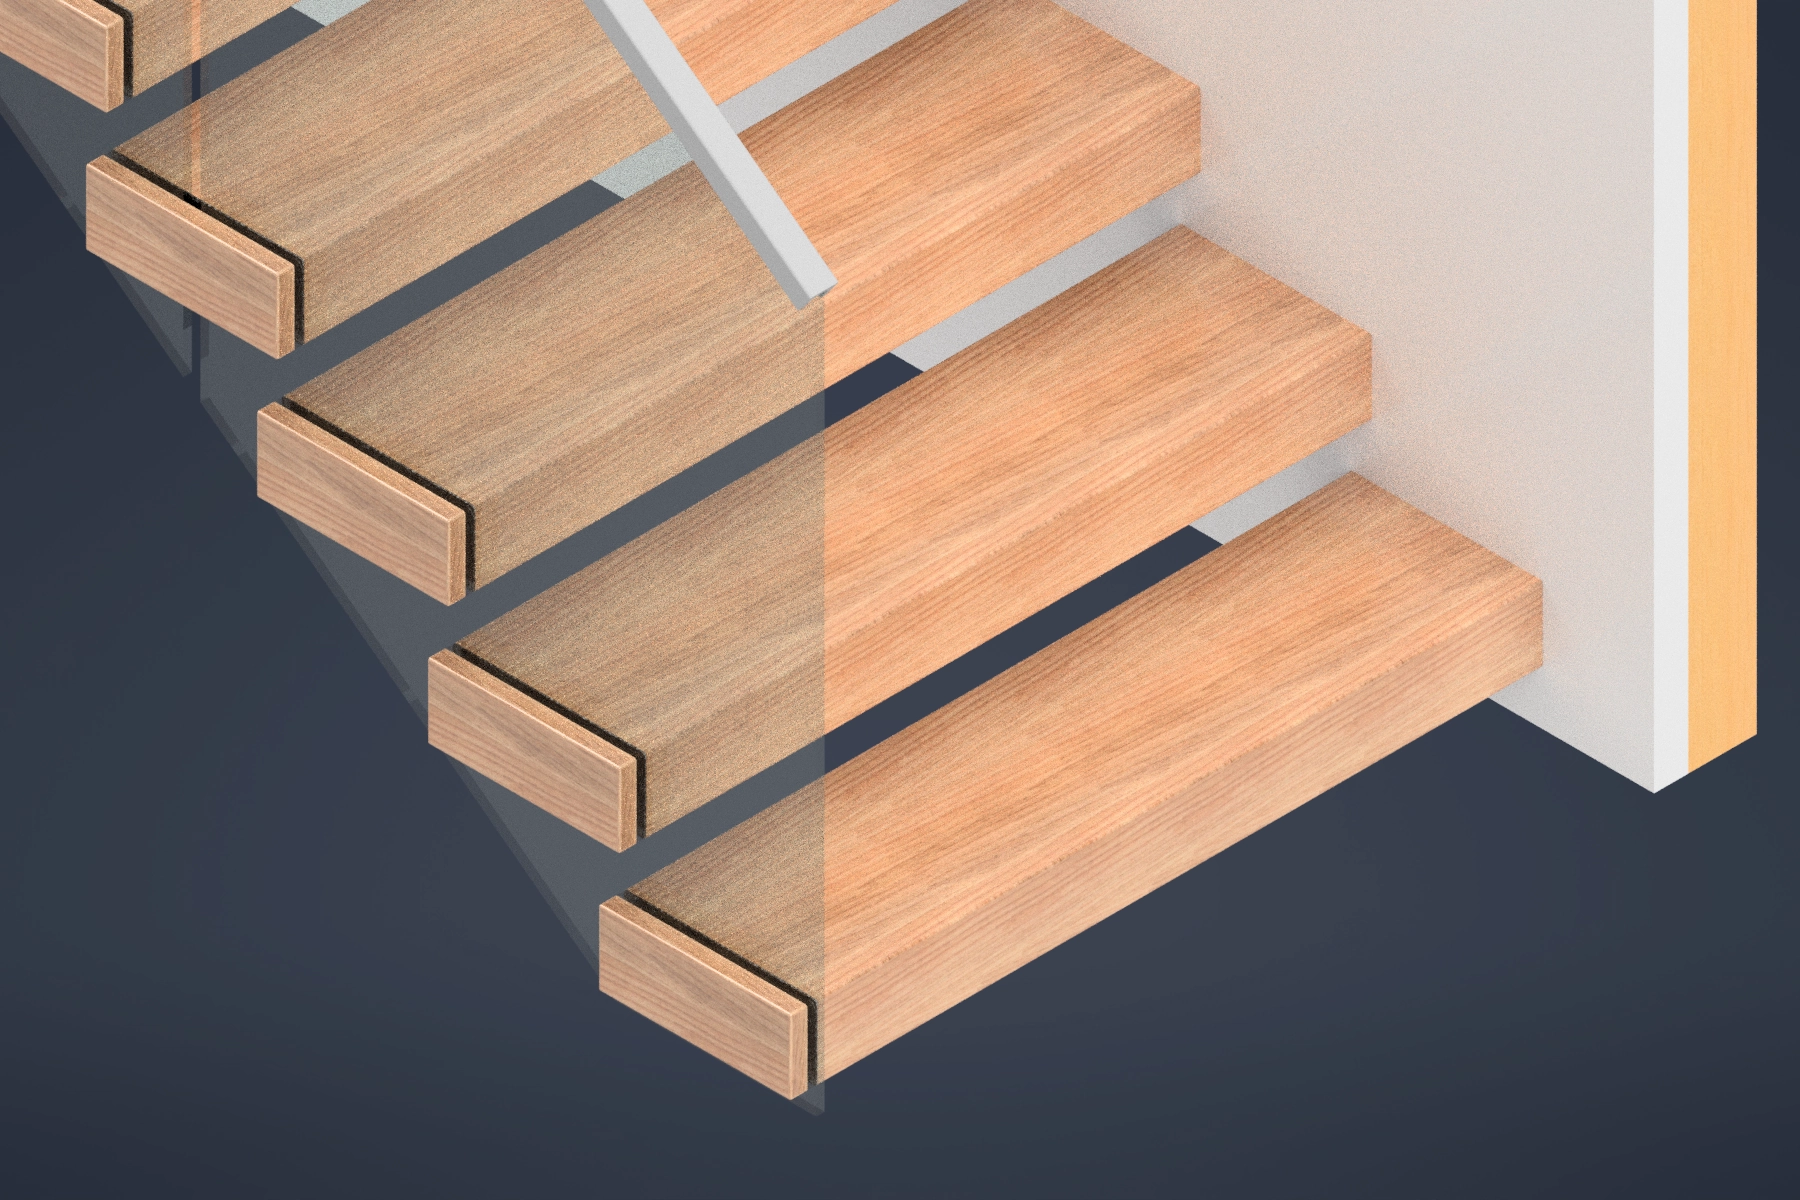
FLIGHT Cantilever delivers a clean, modern stair with a rigid feel underfoot. It mounts directly to the wall face, so you can use the framing already in place and keep wiring between the studs.
Viewrail provides a custom template for the steel mounting brackets, along with project-specific instructions. For builders and installers handling multiple jobs, the process stays consistent and repeatable.
### Installation overview
These are the basic steps for installing a FLIGHT Cantilever with [Vedera](/guides/planning/how-can-i-customize-my-flight-staircase/choose-a-flight-glass-railing-style.md) glass railing. Your shipment also includes step-by-step instructions tailored to your project.
{% stepper %}
{% step %}
#### Step 1: Prepare the wall
Add 1 3/4-inch LVLs on both sides of each wall stud. Use L brackets at the top and bottom to tie the LVLs into the framing.
Next, mount the wall plate template, starting at the first tread location on the bottom-most run.
Use the template to place the aluminum brackets. These create more surface area for the mounting brackets during installation.

{% endstep %}
{% step %}
#### Step 2: Mount the wall plates
Set each steel plate on the plywood template. Screw the plate to the wall with eight to ten fasteners.
Each mounting plate includes multiple slots. This lets you place bolts accurately into both the wood framing and the aluminum angle brackets.

{% endstep %}
{% step %}
#### Step 3: Attach the tread arms
Attach the tread assembly to the wall plate by threading the bolts into the pre-tapped holes.
Then mount the tread arm assembly to the top of the inner arm. It slides back and forth so you can adjust tread arm length to match the tread width on your prints.

{% endstep %}
{% step %}
#### Step 4: Build out the wall
Install floor-to-ceiling AdvanTech subflooring to bring the wall flush with the mounting brackets. This also adds rigidity to support the full system.
Then add 1/2-inch furring strips to build the wall out past the bolts.
Add full sheets of plywood over that layer. This ties the furring strips to the AdvanTech subfloor.
Finish with 3/8-inch drywall to hide the brackets, bolts, and welds.


{% endstep %}
{% step %}
#### Step 5: Install the wood treads
Make sure each tread is perfectly level before you install the wood treads. Adjust the bolts on the underside of the steel treads to fine-tune the pitch of each step.
The wood treads fit over the tread pan with miter-locked corners. Bring the two tread pieces together, glue and clamp them, then install lighting if your project includes an LED route.

{% endstep %}
{% step %}
#### Step 6: Install the glass railing
Install your [Vedera](/guides/planning/how-can-i-customize-my-flight-staircase/choose-a-flight-glass-railing-style.md) railing and the end caps. The railing helps stiffen the full system and completes the final look.

To compare compatible glass systems, see [Choose a FLIGHT Glass Railing Style](/guides/planning/how-can-i-customize-my-flight-staircase/choose-a-flight-glass-railing-style.md).
{% endstep %}
{% endstepper %}
### Related topics
* [How Can I Customize My FLIGHT Staircase?](/guides/planning/how-can-i-customize-my-flight-staircase.md) — Review the full FLIGHT decision path.
* [Choose Your FLIGHT Style](/guides/planning/how-can-i-customize-my-flight-staircase/choose-your-flight-style.md) — Compare Cantilever with other FLIGHT systems.
* [Choose a FLIGHT Glass Railing Style](/guides/planning/how-can-i-customize-my-flight-staircase/choose-a-flight-glass-railing-style.md) — Compare Vedera with other glass options for stairs and landings.
* [How Do I Maintain Glass Railing?](/guides/maintenance/how-do-i-maintain-glass-railing.md) — Keep the glass clean and protected after install.
---
# Agent Instructions
This documentation is published with GitBook. GitBook is the documentation platform designed so that both humans and AI agents can read, navigate, and reason over technical content effectively. Learn more at gitbook.com.
## Querying This Documentation
If you need additional information that is not directly available in this page, you can query the documentation dynamically by asking a question.
Perform an HTTP GET request on the current page URL with the `ask` query parameter, and the optional `goal` query parameter:
```
GET https://resources.viewrail.com/guides/install/how-do-i-install-a-flight-system/how-do-i-install-a-flight-cantilever-system.md?ask=&goal=
```
`ask` is the immediate question: it should be specific, self-contained, and written in natural language.
`goal` is optional and describes the broader end goal you are ultimately trying to accomplish on behalf of the user. GitBook uses it to tailor the answer towards what is most useful for that goal.
The response will contain a direct answer to the question and relevant excerpts and sources from the documentation.
Use this mechanism when the answer is not explicitly present in the current page, you need clarification or additional context, or you want to retrieve related documentation sections.